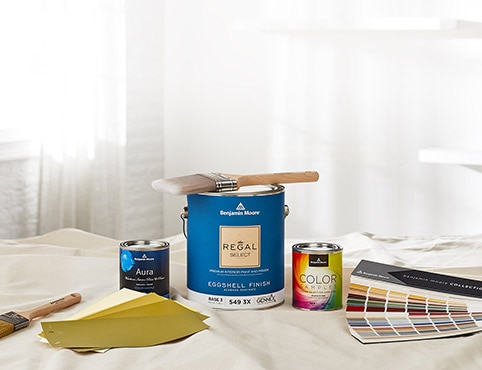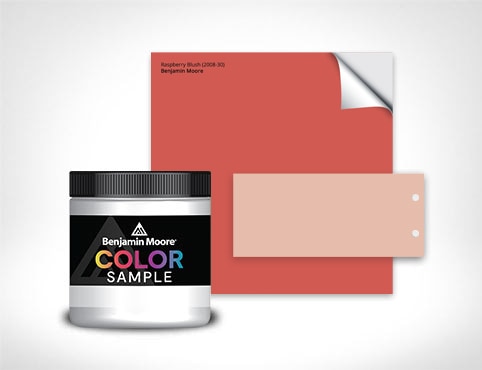

Step #1: Determine What Needs Touching Up
There are a number of common imperfections requiring touch-up paint, including:
- Scuffs: Whether it’s a mishap from moving furniture or general wear and tear, scuffed paint is one of the more common and straightforward imperfections to touch up.
- Patch marks: Maybe you’ve fixed cracks and small holes or repaired a larger hole in your wall. Perhaps your original paint job was a bit uneven, with paint streaks or drywall showing through. Whatever the case may be, it can be a simple fix.
Helpful Tip
Helpful tip: If you have a scuff or mark on your painted wall, your first step should be trying to clean it with a rag, soap and water.

Step #2: Match Color, Sheen and Surface Texture
Here are three things you need to know about choosing the right touch-up paint:
1. Match the Paint Color - To find the best color match, head to your local Benjamin Moore® retailer, ideally with a chipped-off piece of the wall you’re touching up for help with color matching.2. Match the Paint Sheen - Is the paint you’re touching up a glossy satin or flat matte finish? Make sure you consider the sheen of your painted wall when selecting your touch-up paint. Your local Benjamin Moore® retailer can help match your sheen as well.
3. Match the Surface Texture - Matching color and sheen is crucial to a proper touch-up, but don’t forget about texture. Different paint applicators leave subtle differences on the end result. The paintbrush or roller you used when you first painted should be used again for your touch-up. Follow the direction in which you painted originally.
Helpful Tips
Flat or matte finishes tend to touch up better: The flatter the finish, the easier to touch up; the glossier the finish, the more challenging.The better quality your paint is, the easier your touch-up is going to be. Whether you’re touching up paint or painting an entire wall, properly labeling the back of a light switch in the room where you’re working or labeling the paint can you’re using will help you stay organized for future projects. Your Benjamin Moore® retailer should have labeled the lid of your paint can for you. For best results, label with:
- Brand of Paint
- Type or Product Name
- Color
- Sheen/Finish
- Where/What You’ve Painted (room, wall, piece of furniture, etc.)


Step #3: Clean and Fix
Make sure to thoroughly clean the affected area and fix any small cracks, large holes, or painting mistakes that are prompting your touch-up.


Step #4: Blend or Feather Paint on the Wall
After the area is cleaned and repaired, there are two common techniques you can use to touch up paint: blending and feathering.
How to Blend Paint on a Wall- With a paintbrush or roller (ideally the same application tool used for the original paint job), start with as little paint as possible, applying a very small amount at a time. Slowly roll or brush over the imperfection, making sure to start in the middle and apply the lightest amount of paint to the outer edges.
- Using a paintbrush, start at the center of the touch-up and slowly move outward. Lightly extend the tip of the brush just beyond the area you’re touching up to seamlessly blend the touched up area with the original painted area.


