How to Stain a Deck
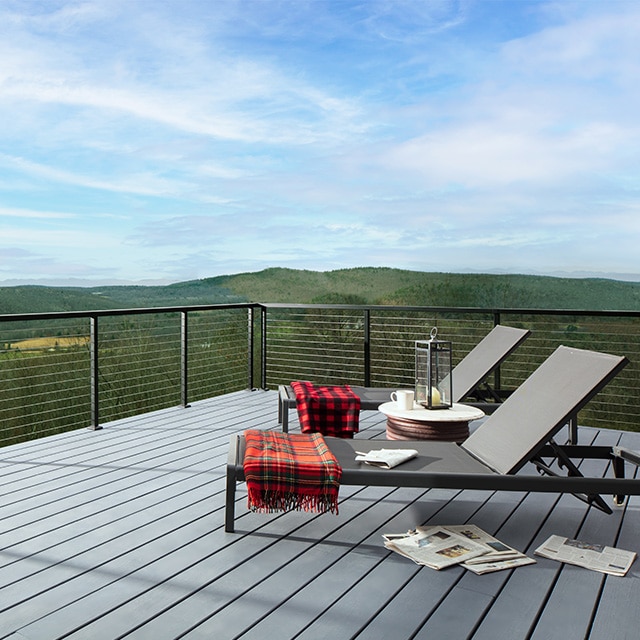
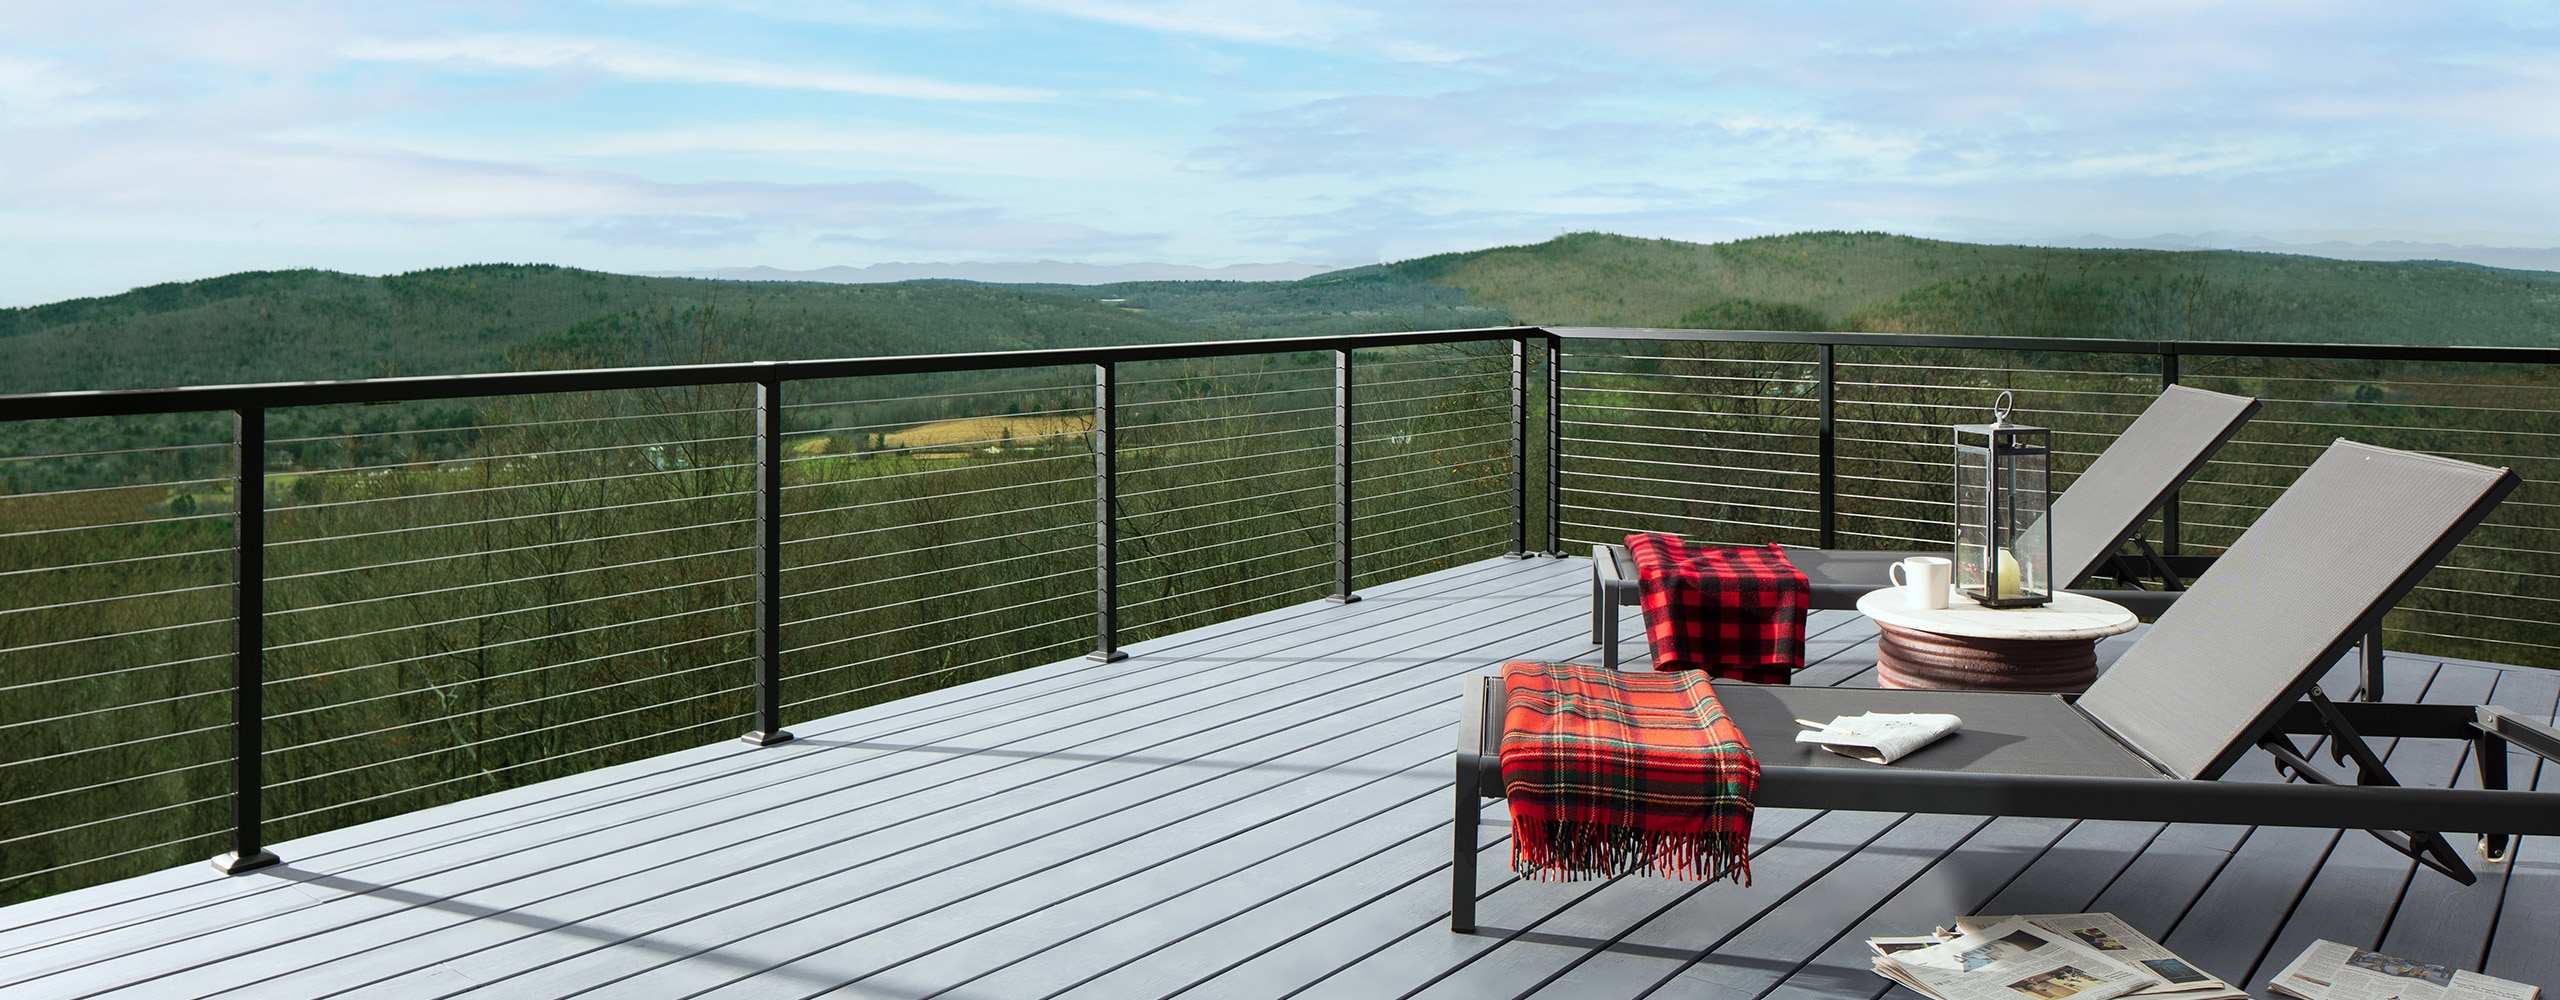
Thinking about how to stain a deck can be daunting. Which product do I need? What if the wood is weathered or peeling? Does the application change if I’m staining pine? What about cedar? Fret no more. The experts at Benjamin Moore have you—and your deck—covered.
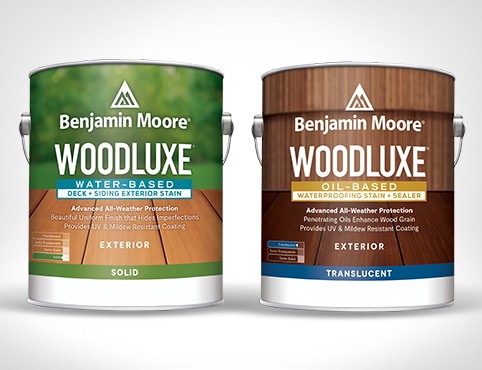
With Woodluxe® Exterior Stains, specially formulated to seal and protect wood even in extreme weather conditions, refreshing your deck and protecting it at the same time is easier than you think.
Woodluxe Exterior Stains are available in a variety of opacities and colors, putting your backyard transformation well within reach. To get started, check out our step-by-step guide on how to stain a deck.

Step 1: Prep for Deck Staining
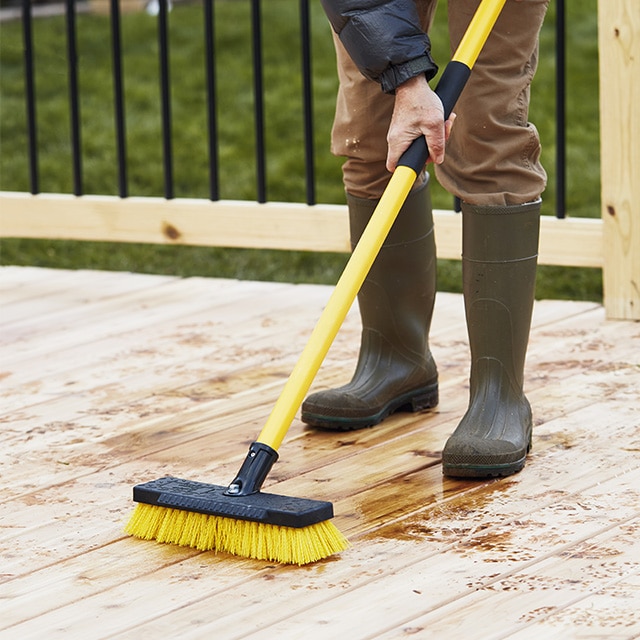
Preparation is critical when staining a deck. Here are a few scenarios to guide you.
New/Treated: Decks are often built from new pressure-treated wood. While treated lumber is protected from the elements, it is generally too wet to stain right away. Some woods may also have a glossy sheen known as a mill glaze, which must be “broken” or removed. To determine if your wood is too wet or has a mill glaze, sprinkle it with water. If the water beads on the surface, the wood is not ready to accept stain. If the wood absorbs the water quickly, it’s ready for stain after a quick cleaning with Woodluxe All-in-One Wood Cleaner.
To break the mill glaze, apply Woodluxe Wood Brightener & Neutralizer to the wood and scrub thoroughly. Once the wood is completely scrubbed down, use a hose or power washer to remove the product. Let the wood dry for at least 48 hours, then sand everything down with 80-grit sandpaper.
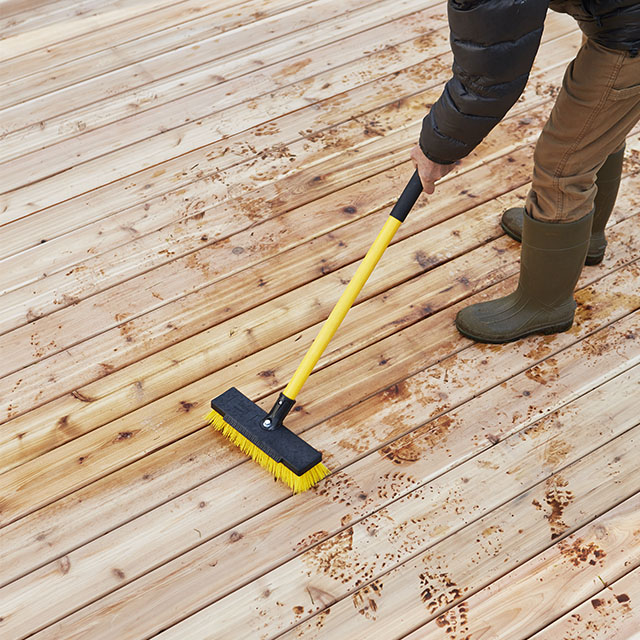

Prep Weathered Wood for Deck Staining
Weathered Wood: Woodluxe Wood Restorer is our go-to product for grayed-out decks. Use Wood Restorer with a stiff brush to clean the wood and remove loose, dead fibers. Afterward, rinse the deck and treat the wood with Woodluxe Wood Brightener & Neutralizer. Once the wood is completely scrubbed down, use a hose or power washer to remove the product. Let the wood dry for at least 48 hours, then sand with 80-grit sandpaper.
Flaking or Peeling: If you have a previously stained deck that is peeling or flaking, try power washing, wire brushing, or sanding to remove as much of the loose, peeling stain as possible. For anything that remains, use Woodluxe Wood Stain Remover to help remove the remaining stain. Afterward, rinse the deck and treat the wood with Woodluxe Wood Brightener & Neutralizer, then sand the deck to ensure a smooth surface for staining.
After letting the wood dry for 48 hours, check the weather: Rain-free days are best for applying stain. If the forecast is dry for at least 36 hours, you’re ready to stain the deck.
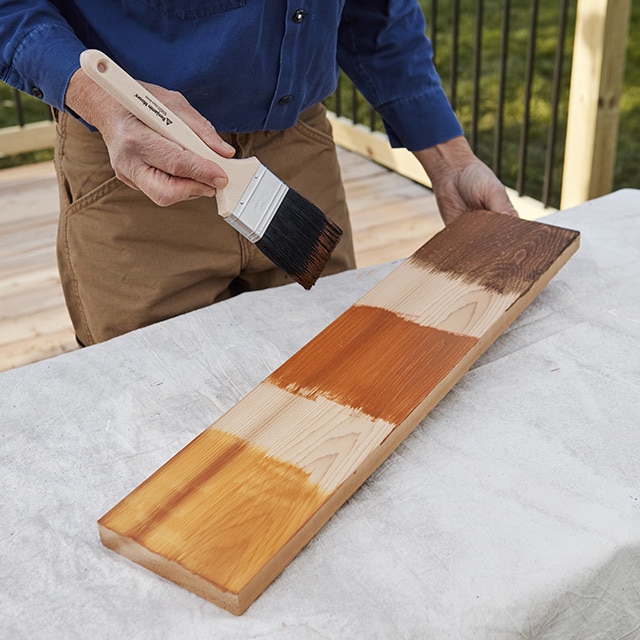

Step 2: Test Your Deck Stain Color Choices
Our Woodluxe 8 oz. Stain Samples are the best way to determine which wood stain opacity and color is right for your deck. Our experts can help you with the options and even let you know how much stain to buy. Visit your locally owned Benjamin Moore store today to buy a sample and try before purchasing gallons.
Once you decide on a selection of colors and opacities, test the stains in an inconspicuous spot or on a spare piece of lumber that matches the wood used on your deck to give yourself a preview of how each will look on the finished deck.
Explore the Wood Stain Color Experience
See Options


Step 3: Stain the Deck
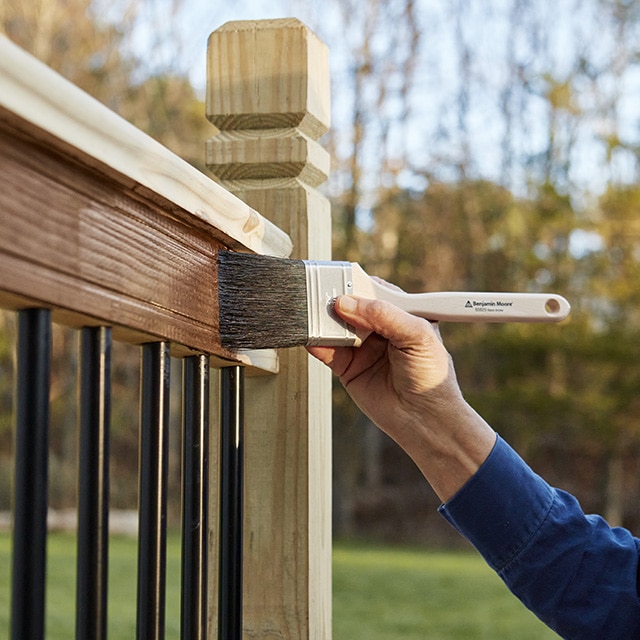
Deck stain can be applied multiple ways, although the tried-and-true method is by brush. You can also use a standard paint roller or a stain pad to apply stain to the wood. It is always best to follow these applications with a brush to help work the stain into the wood.
To prevent lap marks, follow the direction of the wood grain, staining a few full boards at a time. Lap marks can also occur if the stain dries too quickly, so avoid working in direct sunlight if you can. Plan to stain at a time of day when the area is in the shade.

Step 4: Let the Deck Stain Dry
Your newly stained deck will take about 48 hours to fully dry, so we recommend waiting a minimum of two days before opening it up to foot traffic.
Have More Questions?
Visit your locally owned Benjamin Moore store or contact Customer Support.
*Woodluxe color shown for reference only. Color results will vary depending on opacity and wood type.
Railing Stain (Chestnut Brown ES-65, Woodluxe® Water-Based Waterproofing Stain + Sealer, Translucent 691)*
Frequently Asked Questions
Q. Is it better to brush or roll wood stain onto a deck?
A. The tried-and-true method is by brush. You can also use a standard paint roller or a stain pad to apply stain to the wood. It is always best to follow these applications with a brush to help work the stain into the wood, a process known as back-brushing.
To prevent lap marks and uneven streaks, back-brushing should be done with a partner.
Q. Should you sand a deck before staining?
A. After cleaning, you should always sand your wood with 80-grit sandpaper as part of your deck preparation process.
Q. How do you prepare a deck before staining?
A. The steps for preparing a deck for stain depend on the condition of the wood and whether it was previously stained.
With new wood, you will need to remove the “mill glaze.” To do so, apply Woodluxe® Wood Brightener & Neutralizer to the wood and scrub thoroughly.
If you are restoring weathered wood or removing old wood stain, you will need to first apply Woodluxe Wood Restorer or Woodluxe Wood Stain Remover respectively. Then apply Woodluxe Wood Brightener & Neutralizer.
Once the wood is completely scrubbed down, use a hose or power washer to remove the product. Let the wood dry for at least 48 hours, then sand with 80-grit sandpaper.
Q. Do I need to remove old stain before restaining a deck?
A. You need to remove the old stain before applying new stain to your deck.
If you have a previously stained deck that is peeling or flaking, use Woodluxe® Wood Stain Remover to help remove the old stain and uncover bare wood. Afterward, rinse the deck and treat the wood with Woodluxe Wood Brightener & Neutralizer. Once dry, sand the deck to ensure a smooth surface for staining.
Q. How many coats of deck stain should I use?
A. Woodluxe® Translucent, Semi-Transparent, and Semi-Solid stains need only one coat. Woodluxe Solid stains may need one or two coats for complete, even coverage.
When staining your deck, consult your stain’s Technical Data Sheet (TDS) for more information on application.
If the exterior wood stain dries unevenly in some areas, follow the direction of the boards, from end to end, and recoat them fully, a few at a time.
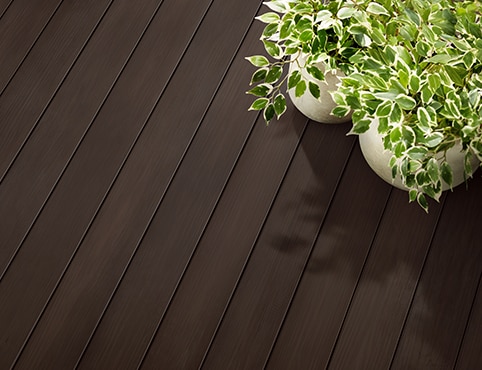
Decks
A freshly-painted deck can transform your backyard, adding color—and curb appeal—to your home.
