
Step #2: Choose the Best Roller Cover Size
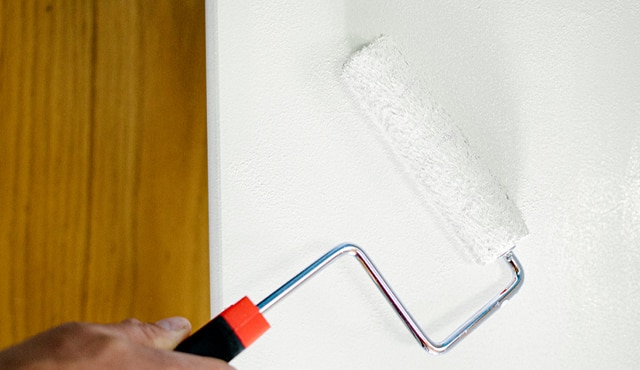
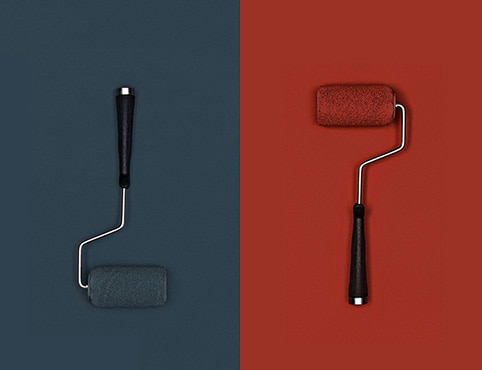
Paint roller covers come in several different sizes for application on a range of project areas. Use a small roller for tight spots and a larger one for wide-open spaces, like a wall or ceiling. Here are some project guidelines when choosing a roller size:
- Walls, Ceilings, Flat Doors—Use a standard-size, 9” (240mm) roller
- Small Furnishings, Paneled Cabinet Doors, Wide Trim, Narrow & Tight Surfaces, Edges, Frames, Handrails—Use a medium-size, 4” (100mm) roller
Helpful Tip
Before using a new roller, wrap painter’s tape around the palm of your hand, sticky side out. Rub the tape along the roller to remove excess lint.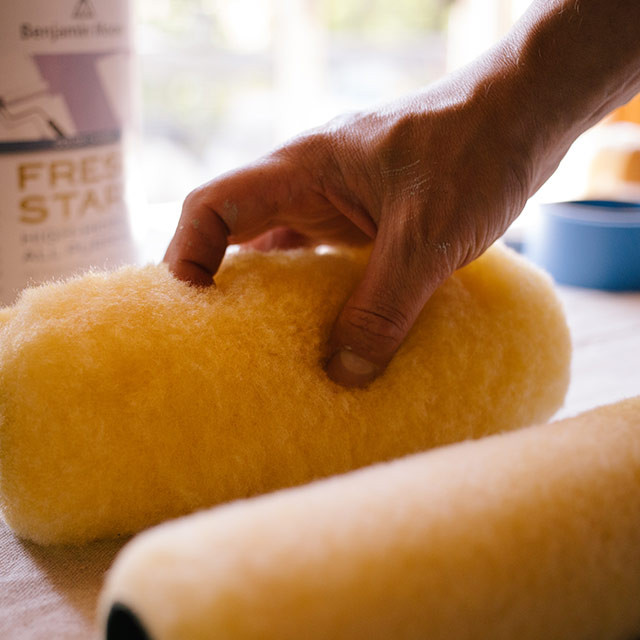

Step #3: Understand Nap Thickness
Nap is the thickness of the fibers on the roller cover, also known as “pile.” The more texture your surface has, the thicker the nap should be. Examples of nap thickness and projects include:
- 3/16” - ¼”—For smooth surfaces like metal doors, trim and cabinet doors; works well with semi-gloss or gloss coatings
- ⅜” - ½” (9.5-12.7mm)—For smooth and semi-smooth surfaces like drywall, painted or unpainted walls and ceilings
- ¾” - 1” (19.05-25.4mm)—For semi-rough surfaces like wood, stucco or a textured ceiling
- 1 ¼” - 1 ½” (31.75-38.1mm)—For rough surfaces like concrete block, brick, or masonry
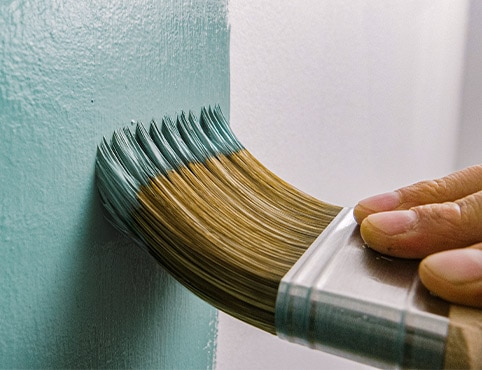
You’ll still need a paintbrush for areas that demand precision, like cutting in corners and painting trim. Otherwise, rolling paint over large areas is extremely efficient and offers the smoothest finish.
